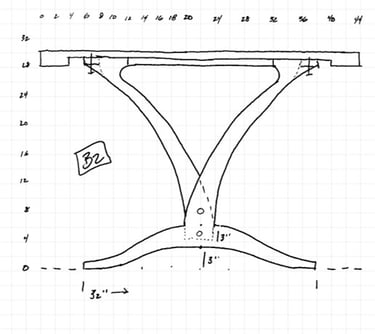
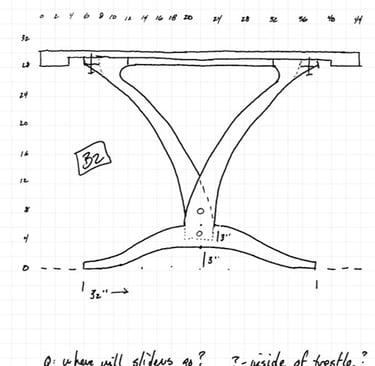
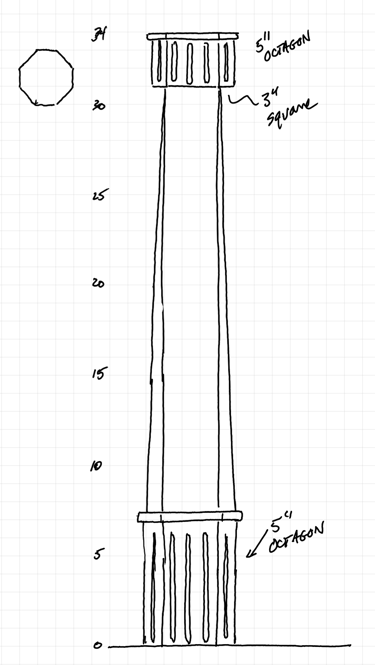
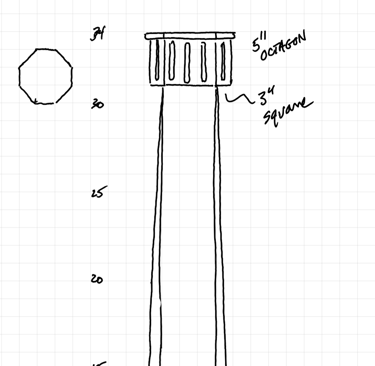
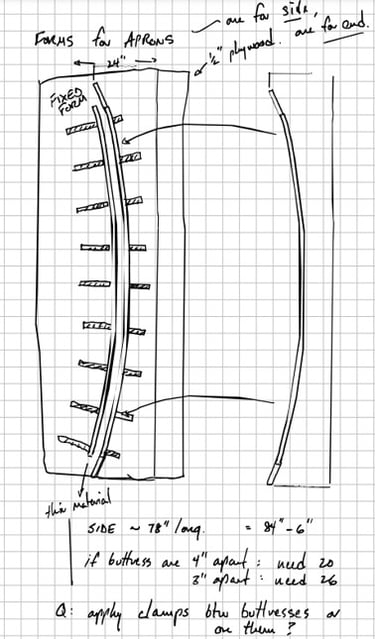
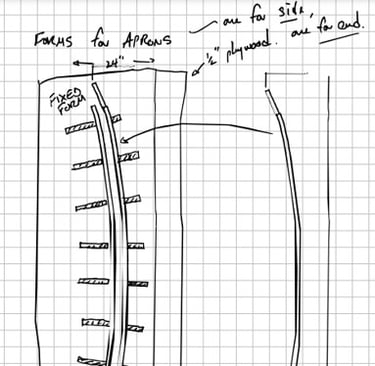
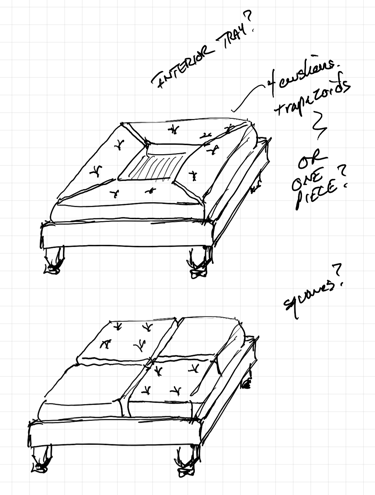
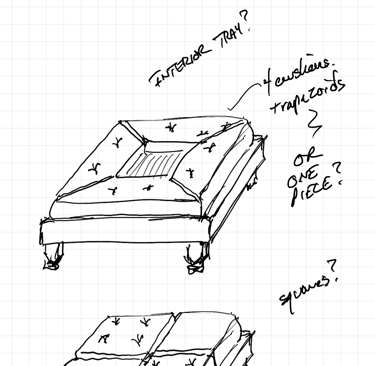
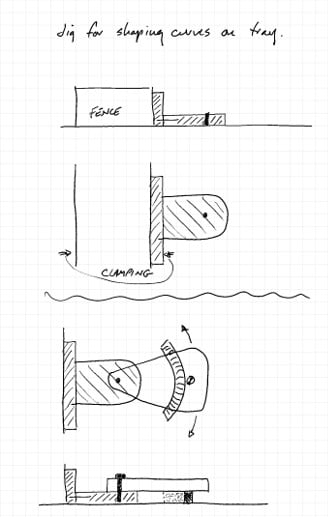
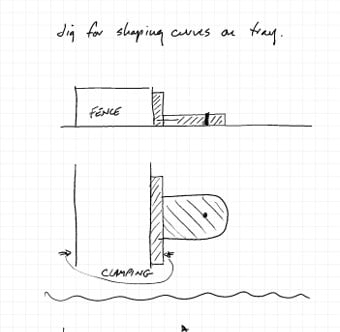
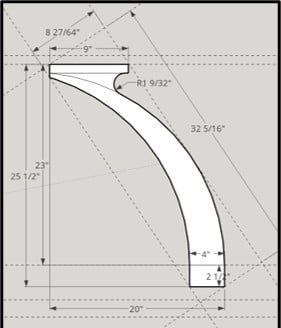
The first stage is to develop the concept through freehand sketches. This provides rapid concept development and makes collaboration easy. Options are explored and concensus reached between client and craftsman. Construction methods and shop jig designs are considered as well.
1
Sketch
Creating custom furniture follows a series of deliberate steps and it is important that the client be involved in each one so that the final piece delivers on their vision. Because each piece is made from hand-selected premium hardwoods, it is crucial to plan and execute these steps carefully. We look forward to collaborating with you.
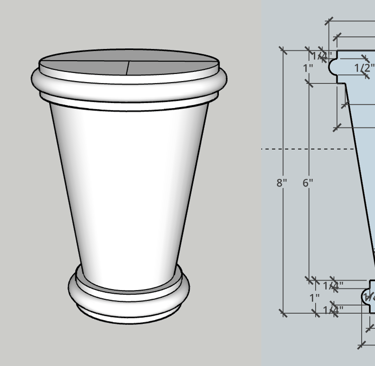
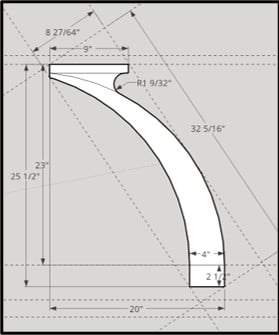
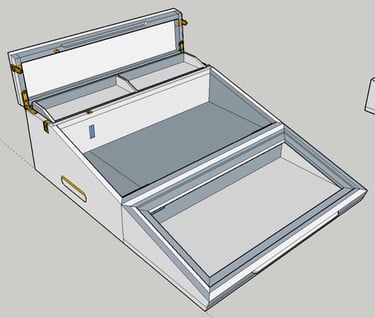
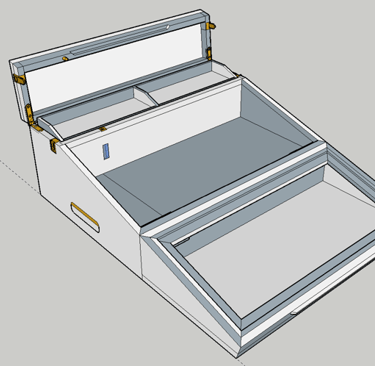
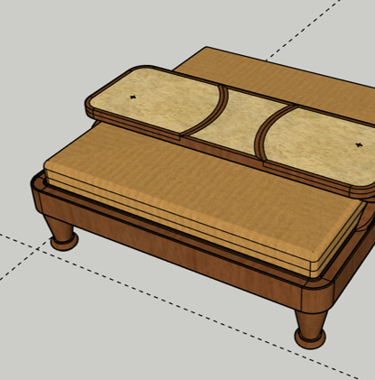
Once the concept is refined, the sketches are converted to 3D design drawings. These provide realistic three dimensional views to confirm that the design matches the objectives and style of the desired piece. This step also determines specific dimensions and joinery needed for construction.
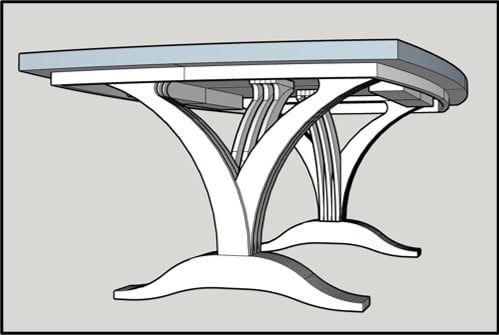
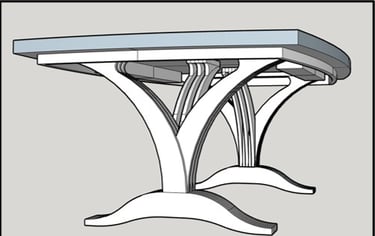
2
Design


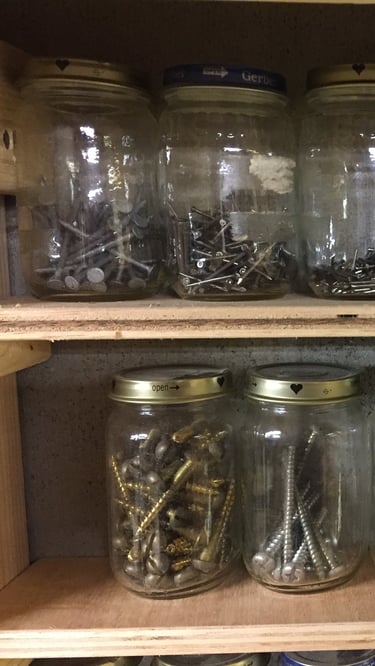
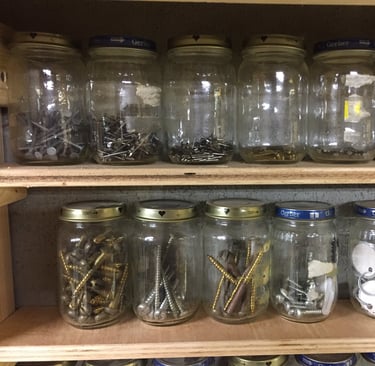
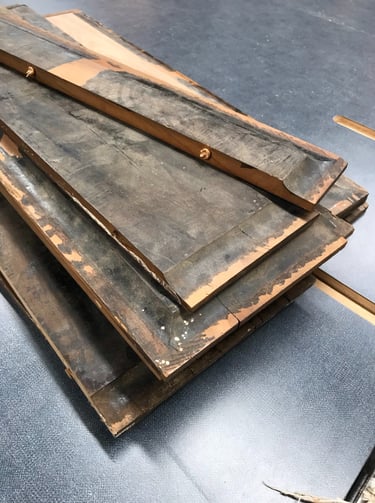
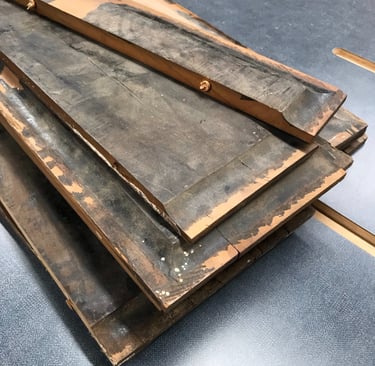
Based on the dimensions determined by the design drawings, materials, hardware and finishes are provisioned. Wood selection is critical, and we are eager to have clients find or choose lumber that has special meaning for them, for example the salvaged wall panels used in the Campaign Desk. Typically, the shop will need about 40% more rough lumber than the final product requires due to losses occurring in each step of the woodworking process. Also, selection of specific hardware may drive changes in the joinery of the piece
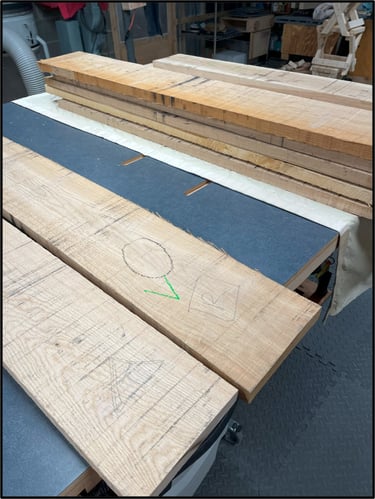
3
Provision
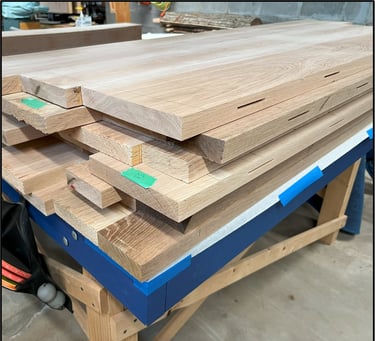
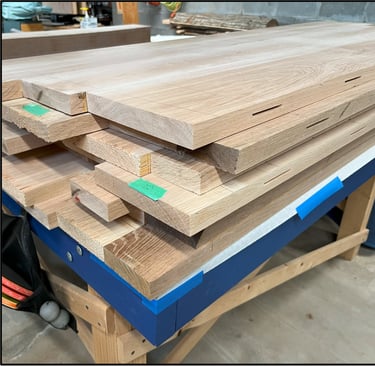
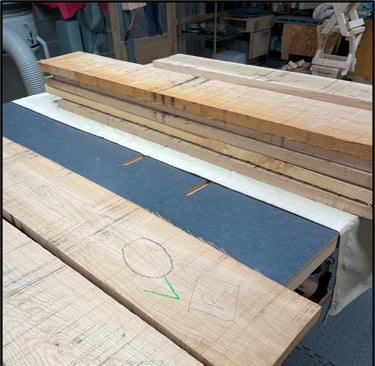
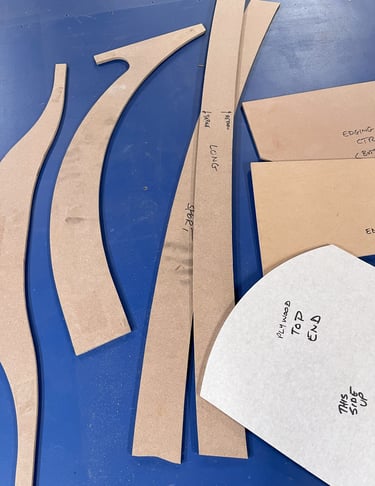
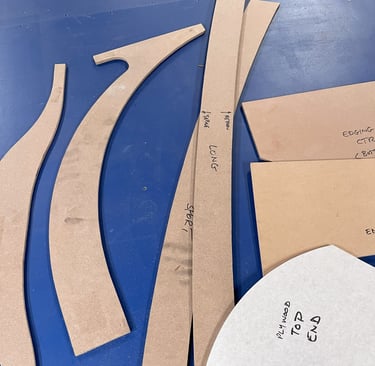
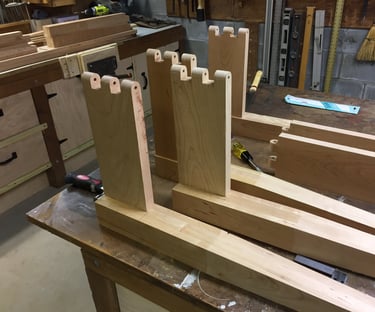
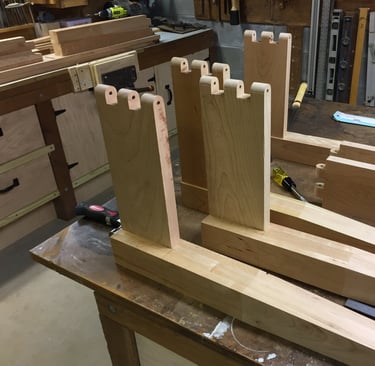
The raw lumber is rough cut into component parts. Templates and jigs are used to standardize the cuts and speed production. Care is taken when making individual cuts to both maximize the yield of the raw material and to choose the most attractive grain and figure for each component.
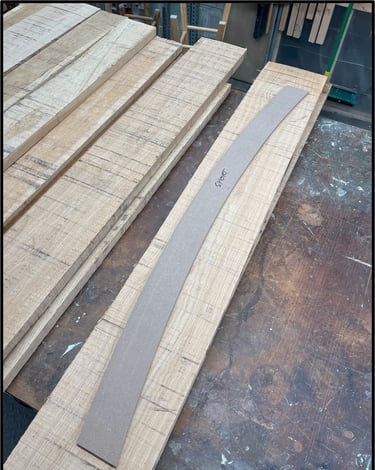
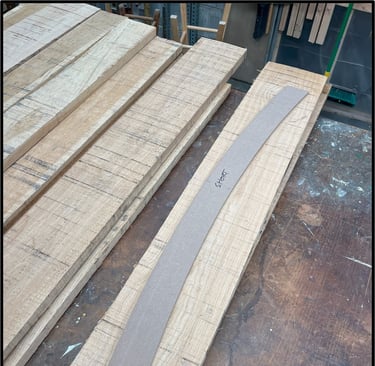
4
Rough Cut
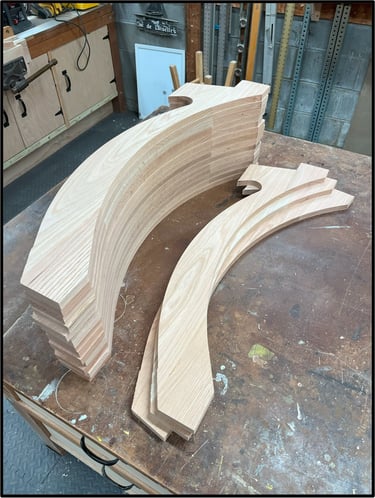
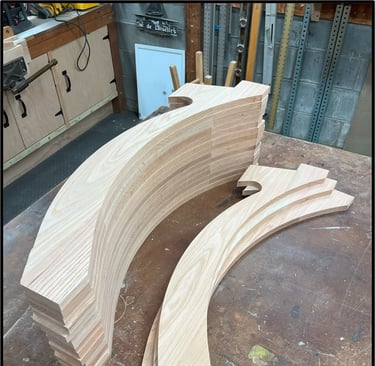
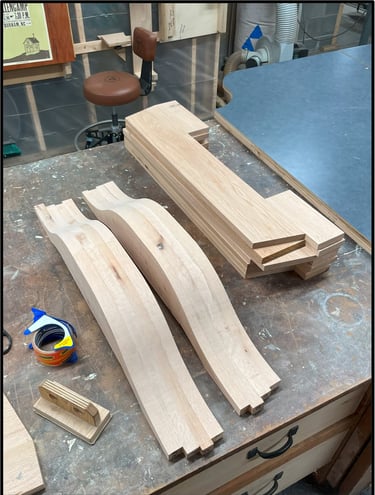
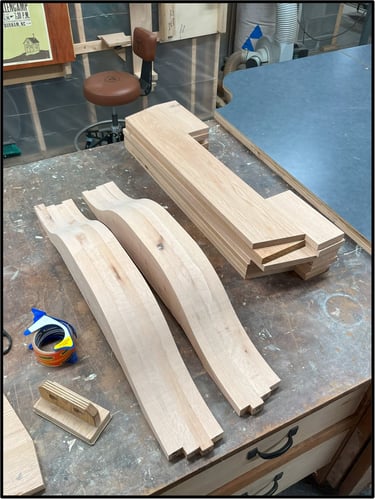
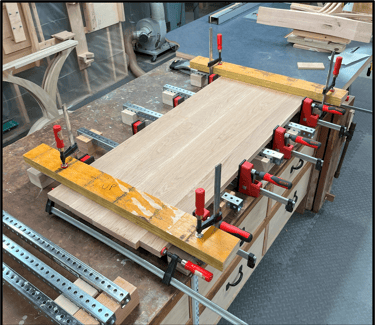
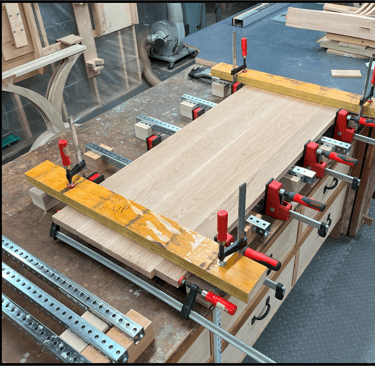
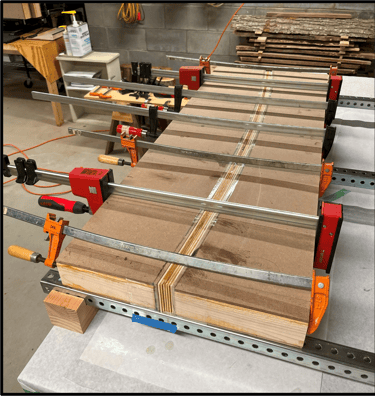
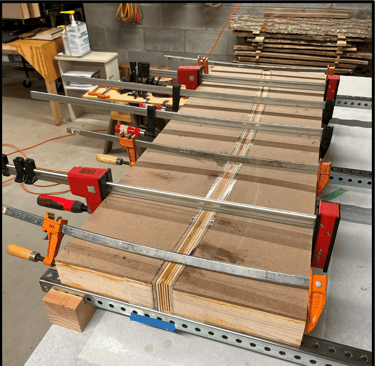
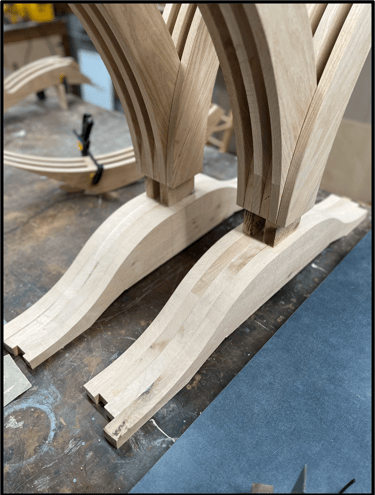
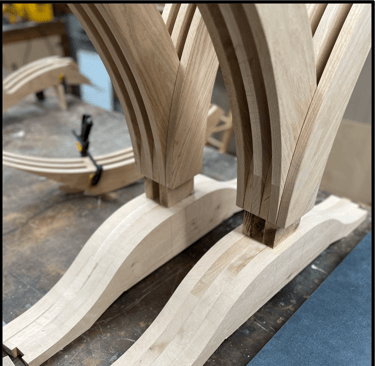
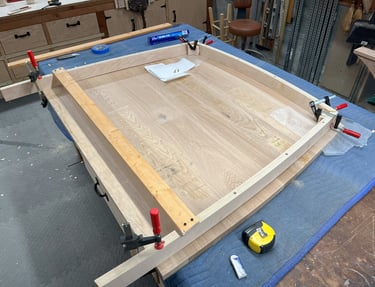
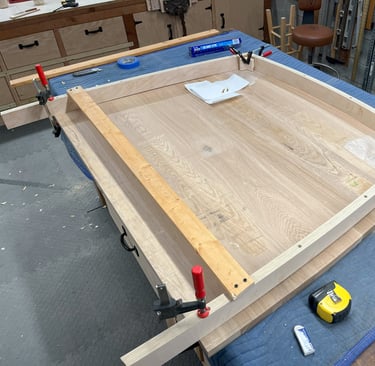
Rough cut components are glued together to create the main elements of the furniture. This can include doing bent laminations that can create graceful curves. Glue-ups are nerve-racking activities as there is no reversing these steps. And you can never have too many clamps.
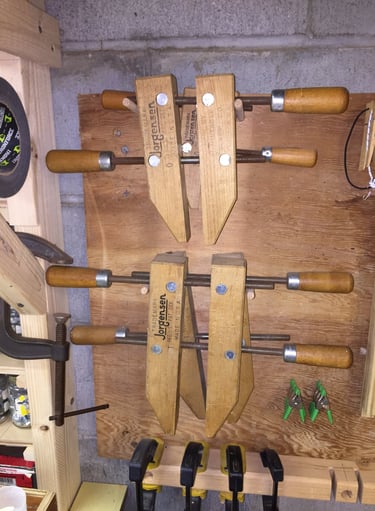
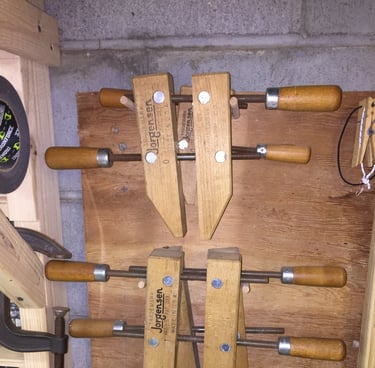
5
Glue up
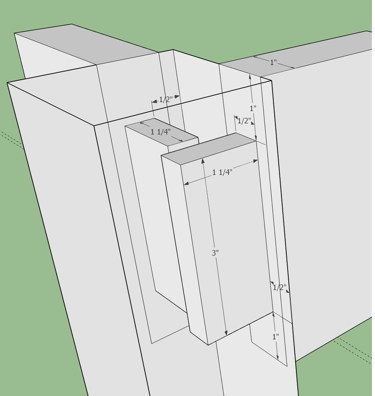
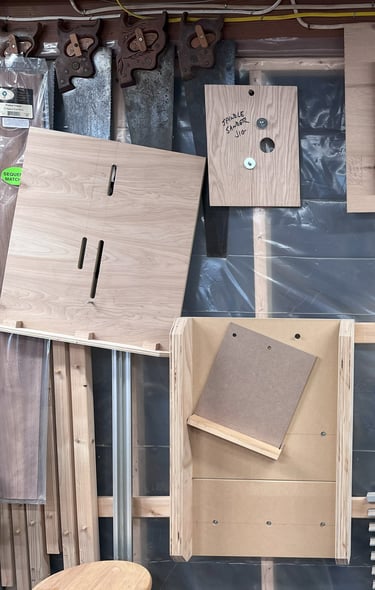
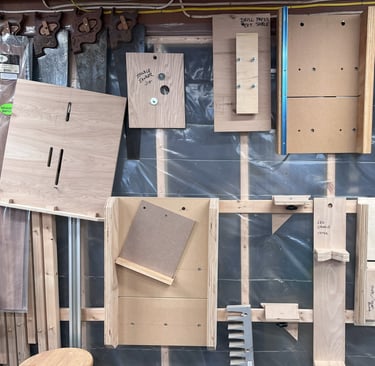
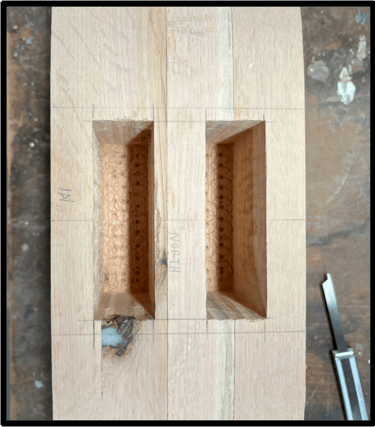
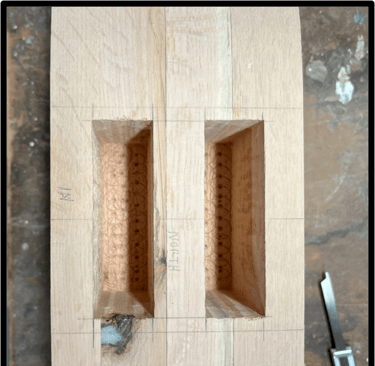
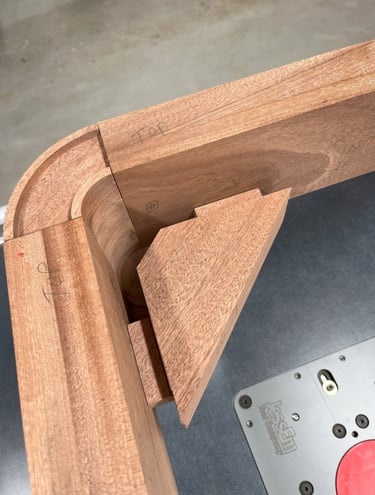
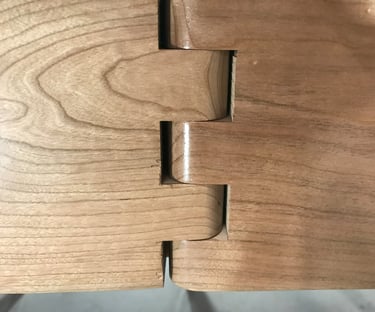
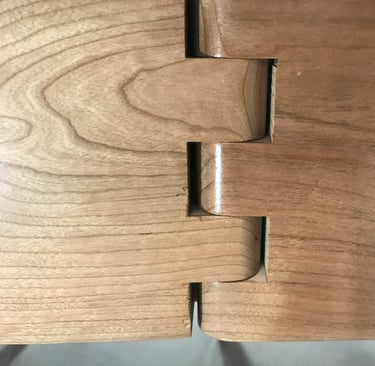
Joints that will connect the components in the final piece are formed during this step. Fine furniture pieces utilize mortise and tenon, dovetails and other wood-on-wood joinery that provide connections that will last for centuries. The fewer metal fasteners the better.
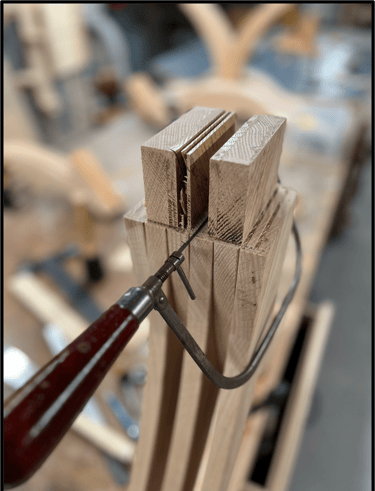
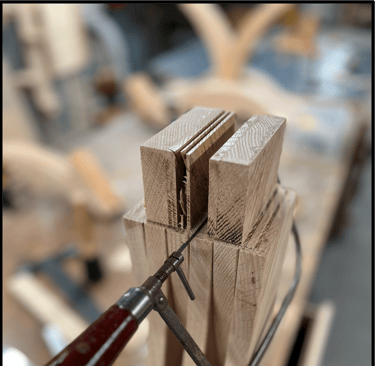
6
Joinery

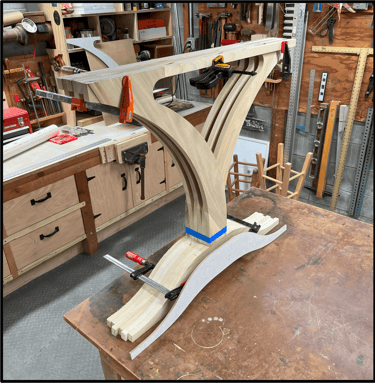
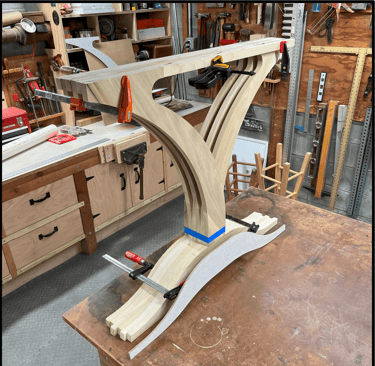
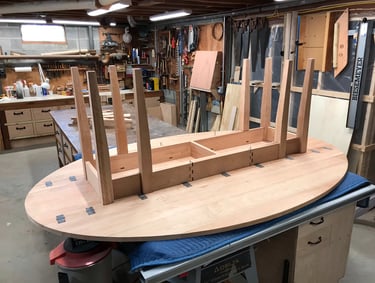
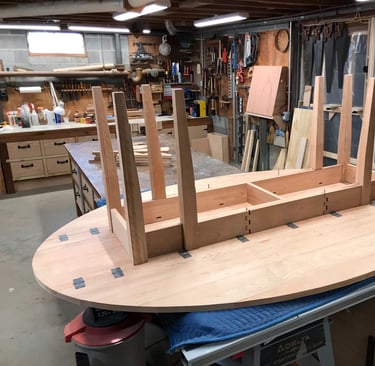
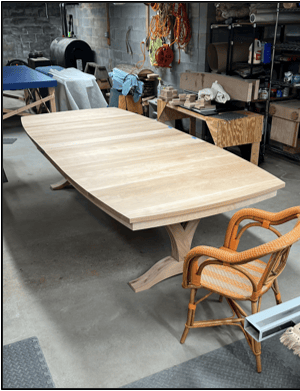
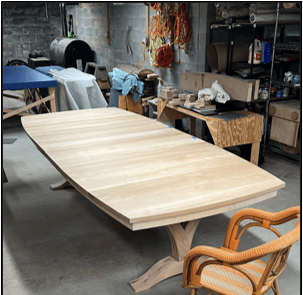
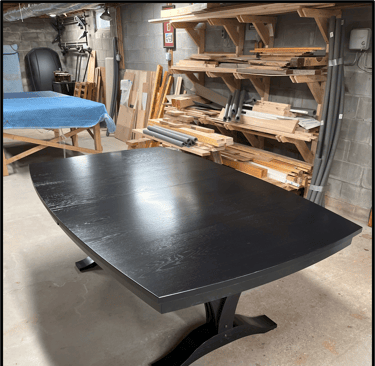
The sized, jointed and sanded components are brought together into the entire piece. Assembly is tested multiple times, with minor adjustments made to ensure tight fit and flush seams throughout. Typically, final assembly takes place after application of finish (in the next step.)
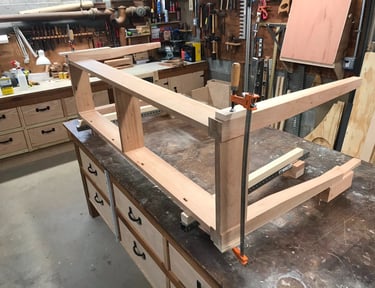
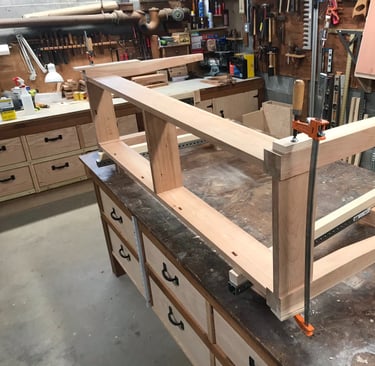
7
Assembly
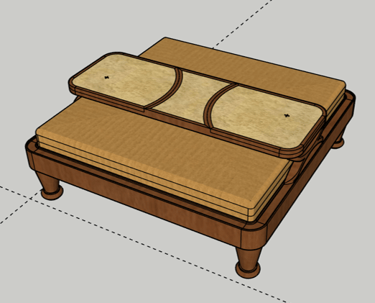
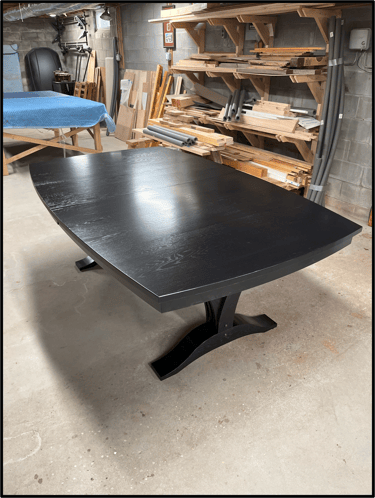
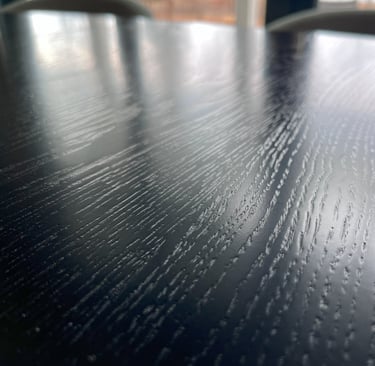
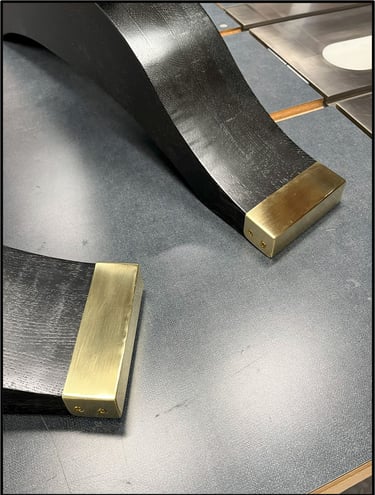
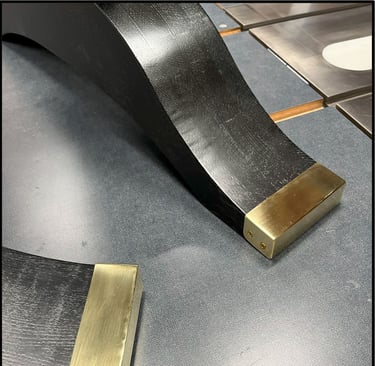
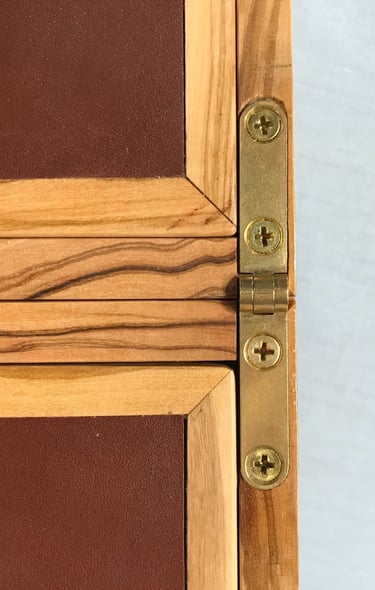
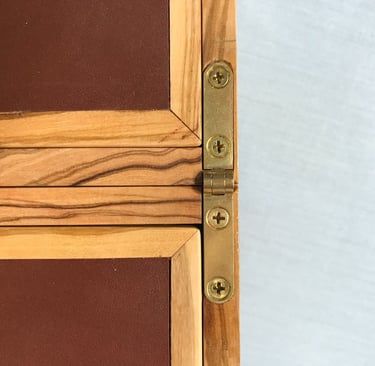
Following assembly testing, finishes are applied to the piece. This would include dyes, varnishes, as well as other materials such as leathers or laminates. Once the finishes and surfaces are done, final hardware (hinges, handles, pulls etc) is installed.
8
Finishing

© Oakley 8 Woodworking - all rights reserved.